- An unusual GWR 6-Wheel Clerestory Tri-Composite -
Two builds in fact!
by Tony Richards
Photograph placed with kind permission of Mike Flemming [MikeOxon of RMWeb]
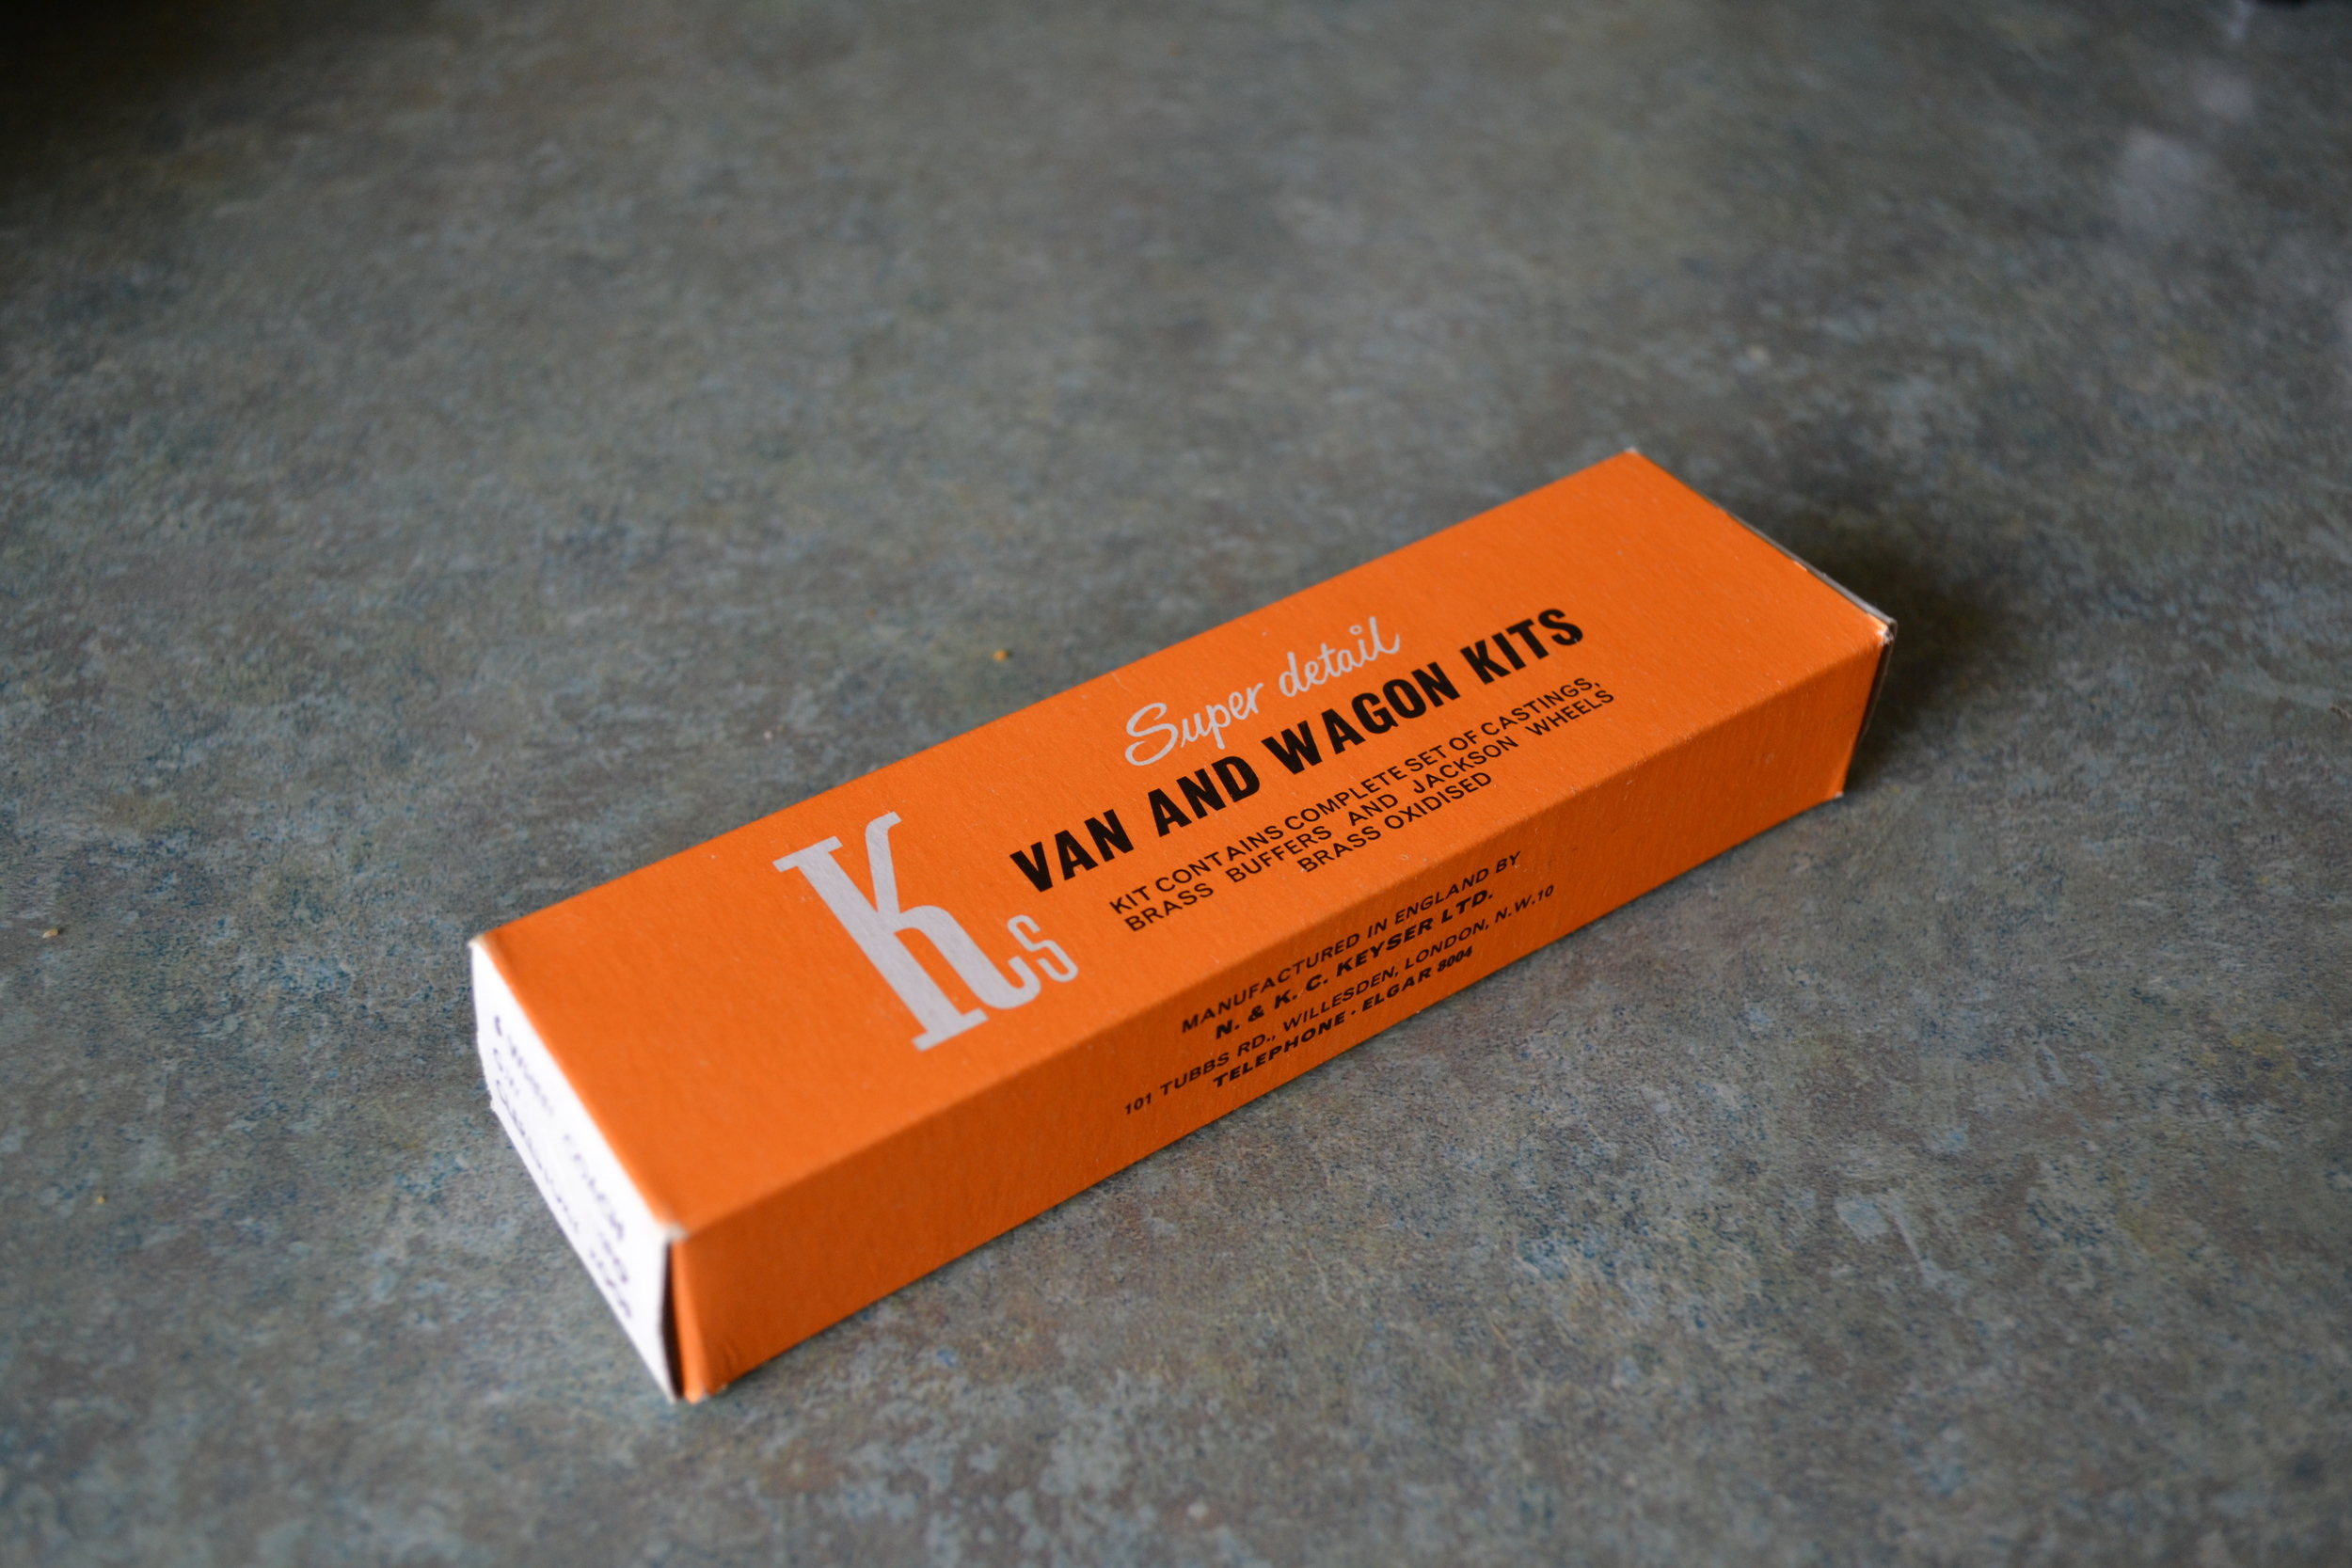
Another delightful white-metal coach from the N&C Keyser stable, this Clerestory Tri-Composite [with luggage] kit must be 40 years old and was an extremely lucky - and cheap - eBay find. Really good unmade examples of this coach do not come up that often and whilst two were advertised at the same time, I felt that only one could realistically run in a rake at any one time and so I left the other there.
The kit arrived in mint and undamaged condition as the box in the photo below shows. I don't think that it had ever been removed from its tissue paper before in fact. I've only found photos [in Russell] of a non-Clerestory Tri-Compo and a Google search produced only one photo of this kit already built. Consequently, it will be built and painted in the 1927-34 livery to suit the other small coaches that I've posted and additional detail will be limited to tie bars, glazing, emergency brake gear at one end, vacuum pipes and a gas cylinder. There is evidence to show that [at least] one ran on the ex-Cambrian lines as late as the '20s.
As it came:
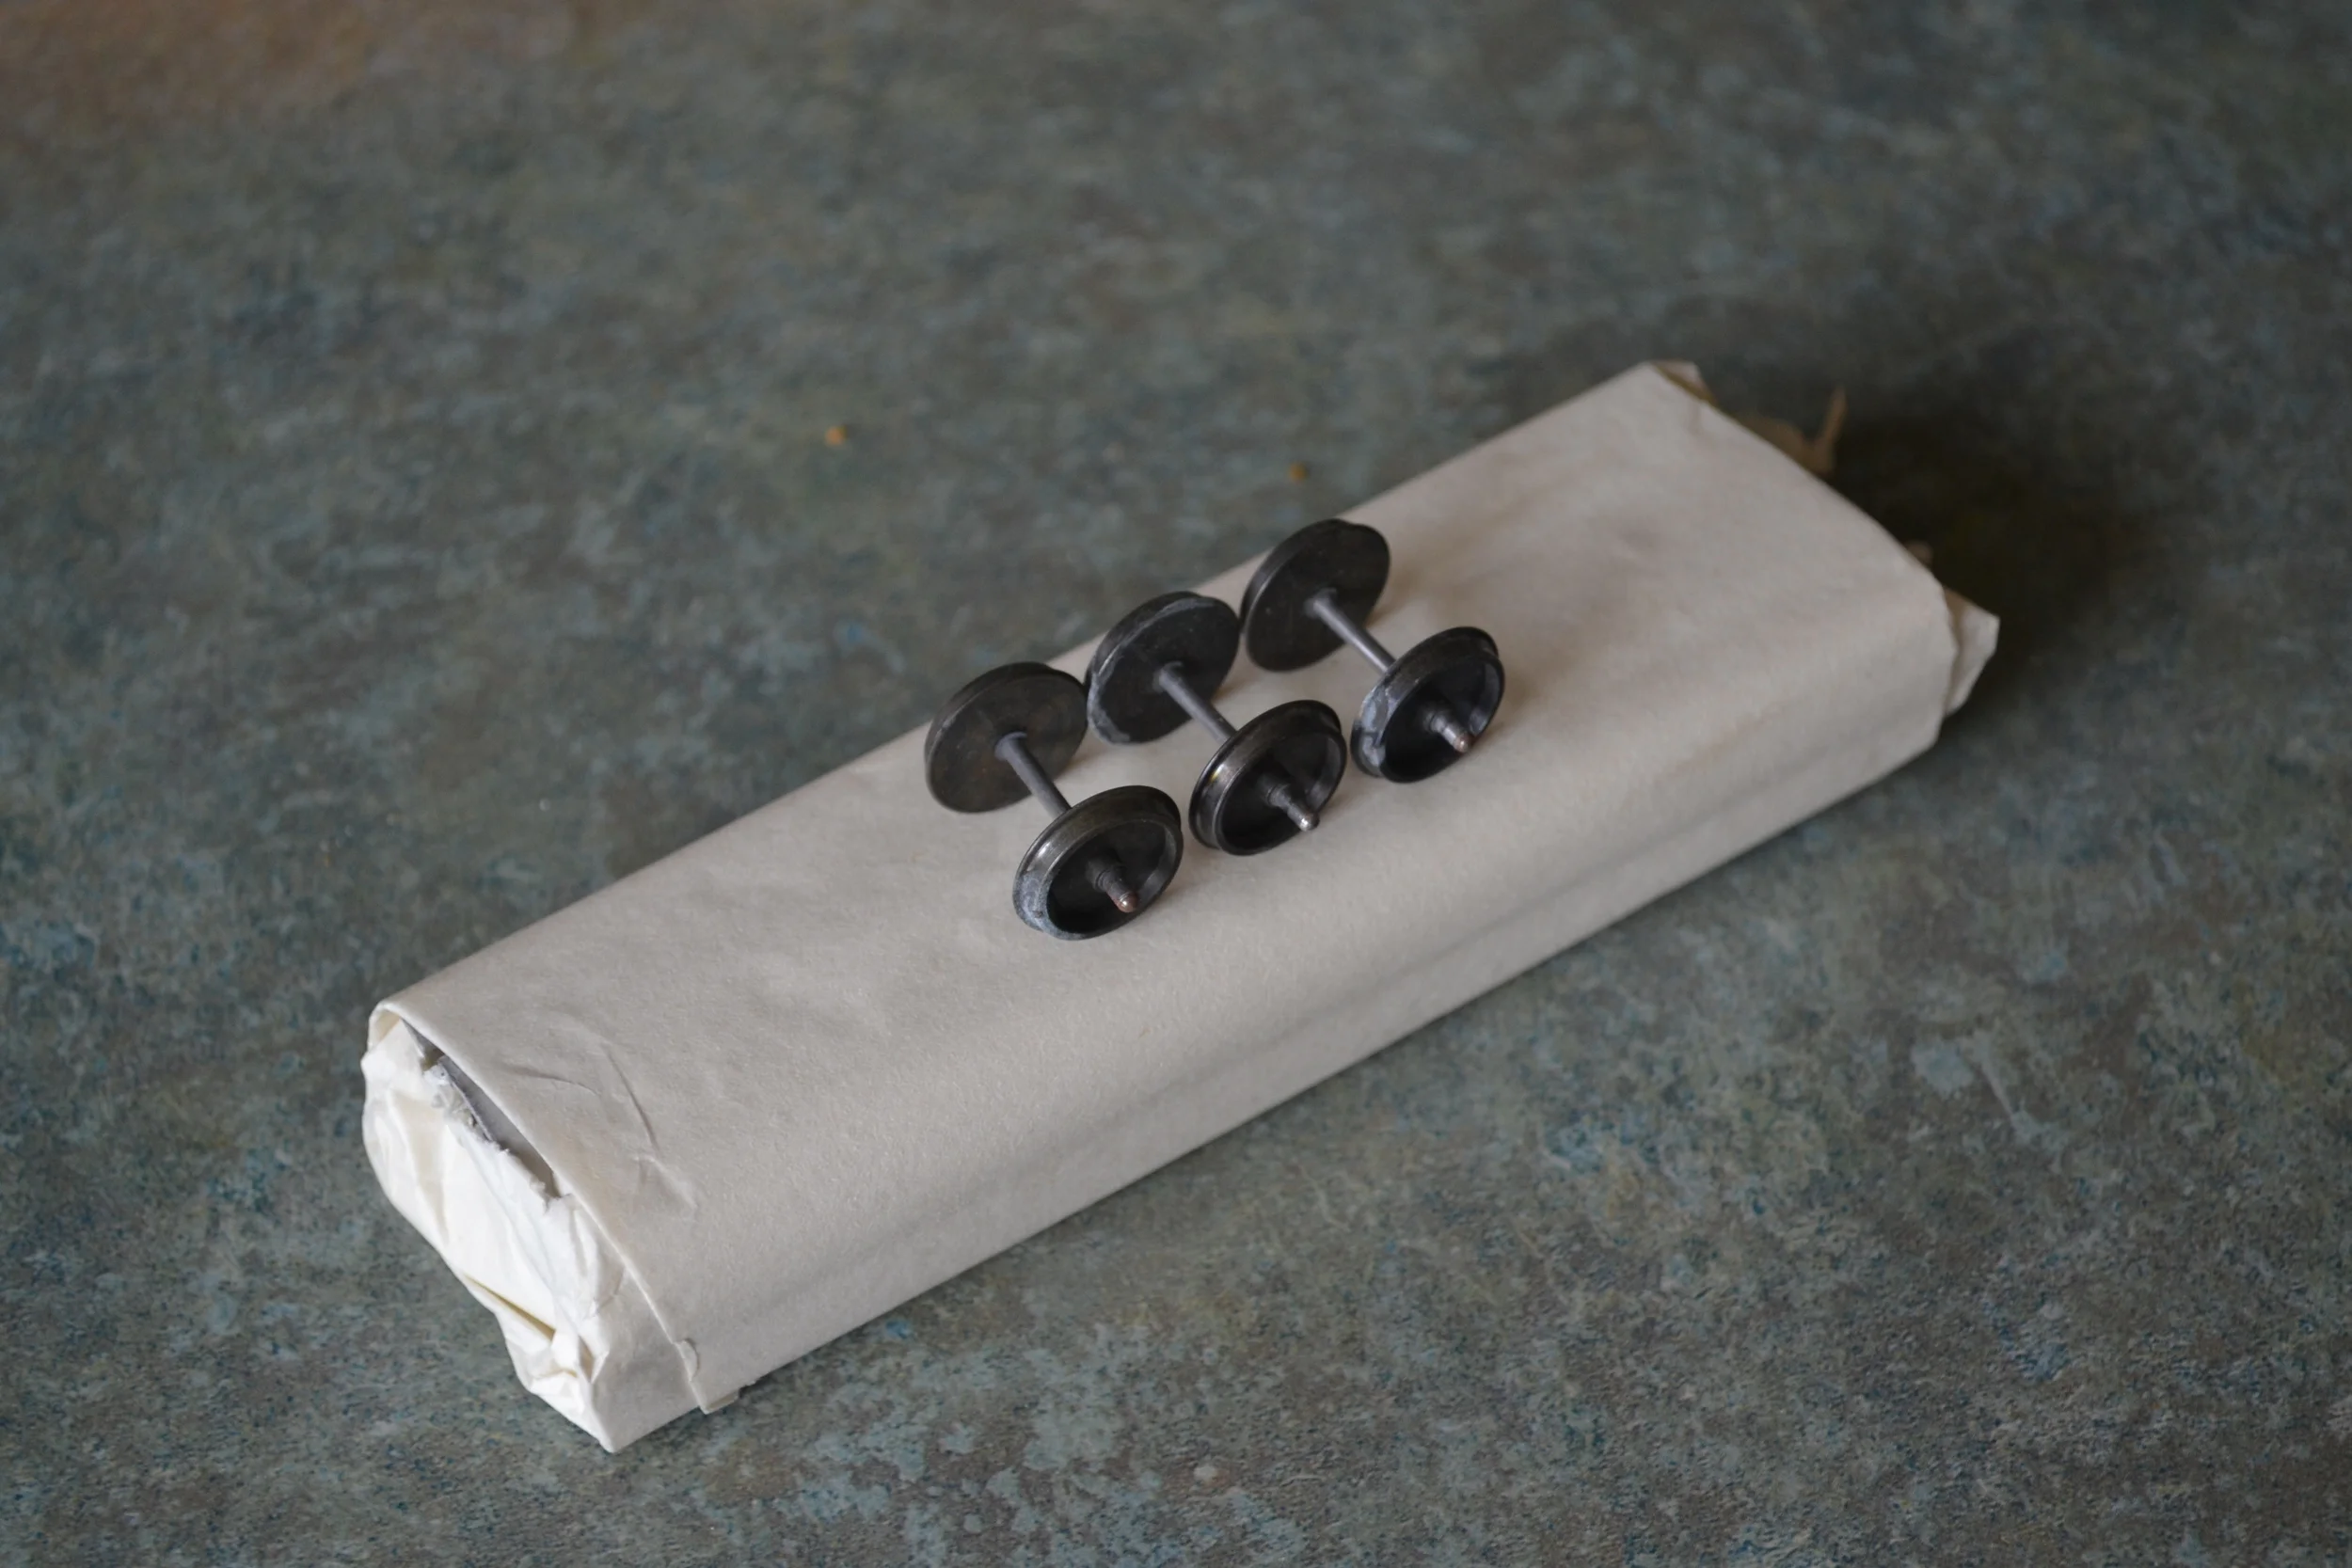
The original wheels were a little corroded, quite coarse and lacked pin-point axles. I'll not be using them consequently and if there are any purists reading this, turn away now: I decided to fit a flangeless centre wheelset to minimise the running problems which will inevitably be experienced during the build. I have found that old white-metal 6-wheelers with rigid chassis are better built as 4-wheelers in terms of flanged wheel track contact.
The castings as supplied were very straight and relatively free from flash too. I think that this kit probably came from an earlier production batch as it was boxed and very clean. Later issues, supplied in vacuum-packed type card sheets suffered from distortion through careless handling and storage.
The first task involved minimal cleaning up and dressing. I then tacked the ends to one side with super-glue to test their fit and offered up the second side unglued to see what, if any, manipulation, filler, etc., would be required to ensure a square fit. All went together quite well and a quick flash of primer showed no pits or gouges that would need filling. The joints at the ends would require attention later however. This was expected.
A reasonable body fit aside, issues with regard to fitting the wheels became immediately obvious at this stage. Because the axlebox / solebar mouldings were quite thick and completely inflexible, it would not be possible to spring the wheelsets in at a later date, after painting had taken place. I guess that, 40+ years ago, the developer's assumption would have been that his models were to be hand-painted. Consequently, the wheels would need to be inserted [in plain brass bearings] into the body before the coach was painted: a pain, frankly. Not insurmountably so however, and more on this later......
A floor [foam-board type material] and some brass wire truss rods were added next. The floor is absolutely essential in my view as it provides great structural rigidity, something which would be lacking if it was omitted. Given Araldite and not soldered construction, it also allowed for a fairly good dollop of the same to be evenly spread around the various joints, sealing them completely.
A gas cylinder has also been attached. No other under-frame detail will be applied although if I can find a neat vacuum cylinder I may just recant on that.
You can see a couple of brass bearings in the top photo also. Given the enormous weight of this creature, it is essential that it runs as freely as possible.
After a rubber-band assembly to ensure that the wheelsets run smoothly in their bearings and the coach rode level on the track [which they do and it does], the ends, lower sides and underneath of the coach were sprayed with several coats of matt black. Once the paint had dried, all of the wheel bearings were secured in place and the wheel-sets inserted. The unattached side was then tacked in place with Superglue. Once that had cured sufficiently for handling, the side was finally secured with Araldite two-part and set aside. It is now a solid and incredibly strong construction which runs very nicely.
The wheelsets: the outer axles are quite fine-scale Mansell coach disks, the centre unit being a plastic [ex-Ratio] Mansell unit with the flanges removed. I know, it sounds terrible and it certainly wouldn't please all. It works well however and from three feet and below eye-level is all but unnoticeable. Whilst the photos exaggerate the effect, few will recognise the bodge in reality. With coaches in which the sides, solebars and axle boxes are cast in one piece and so are completely inflexible and solid, this sort of compromise is necessary if you wish to avoid the need to build an internal, articulated chassis [which I did !]. One day I will try, but not right now....
So, now left to attend to: fill the seams between the sides and the ends with Milliput, paint the wheels, fabricate emergency brake gear for one end, paint and letter the sides, glaze, insert compartment partitions, attach the roof and clerestory, fabricate vacuum pipes and add couplings and buffers. All pretty straightforward but probably still a fair few days away.
The next two photos show the body now in one piece and the chassis and ends painted matt black.


Well here's one that didn't quite go to plan...
The emergency brake gear has been scratched-up out of odds and ends. It only has to be a representation really as once sprayed black, it will merge into the background quite nicely. I'm not sure if these were fitted to this type of coach but it provides some detail for an otherwise bare end and looked quite convincing on the other coaches I made.
However, the horizontal rod should have been just that: horizontal. Clearly it slipped a little in the curing and will need to be addressed before it drives me mad.
The streak of yellow [!] on the coach end is Milliput, filling what was a gaping seam. Once painted, it too will be unnoticeable.
Remedied - I couldn't cope with it for a minute longer...
The chassis does in fact sit level on flat track - the track used for the photo above was kinked.
With the main body work now attended to [although buffers will need to be fitted in due course], I turned to painting the sides. A simple chocolate and cream scheme will be applied, in keeping with the 1927-34 livery. After a great deal of indecision I decided to paint the roof white, with chocolate detailing over the clerestory lights and below the rain strip. The white will need light weathering if it is not to look too dazzlingly bright, but it should look quite attractive too. Whether any vintage coaches were repainted with white roofs in the late-20s is another matter altogether however. New stock was turned out in that way and I suppose if a coach like this had been returned to Swindon for a complete refit it might just have been possible. Anyway, white it is...
A first shot. Some slight bows in the casting are evident in this photo - they will be remedied before the roof is finally attached.
Now detailed, the roof awaits varnishing before light weathering with powders. Varnishing will remove the slightly glossy sheen and provides a more consistent finish. The clerestory lights have been picked out to resemble old glass, not prototypical for the era that I am modelling but attractive nevertheless and, of course, Rule One applies as always....
The lamp pots will be picked out in a thin blackish wash in due course also.
Some more attention has been given to painting the body with the drop lights painted in faded mahogany and the cantrail painted in chocolate to match the lower roof and body side. Lettering and picking out the brasswork will follow but, in the meantime, a photograph to show a test fit of the roof. All seems well although some slight panel gaps, particularly at the left end where the roof meets the body, will need addressing...
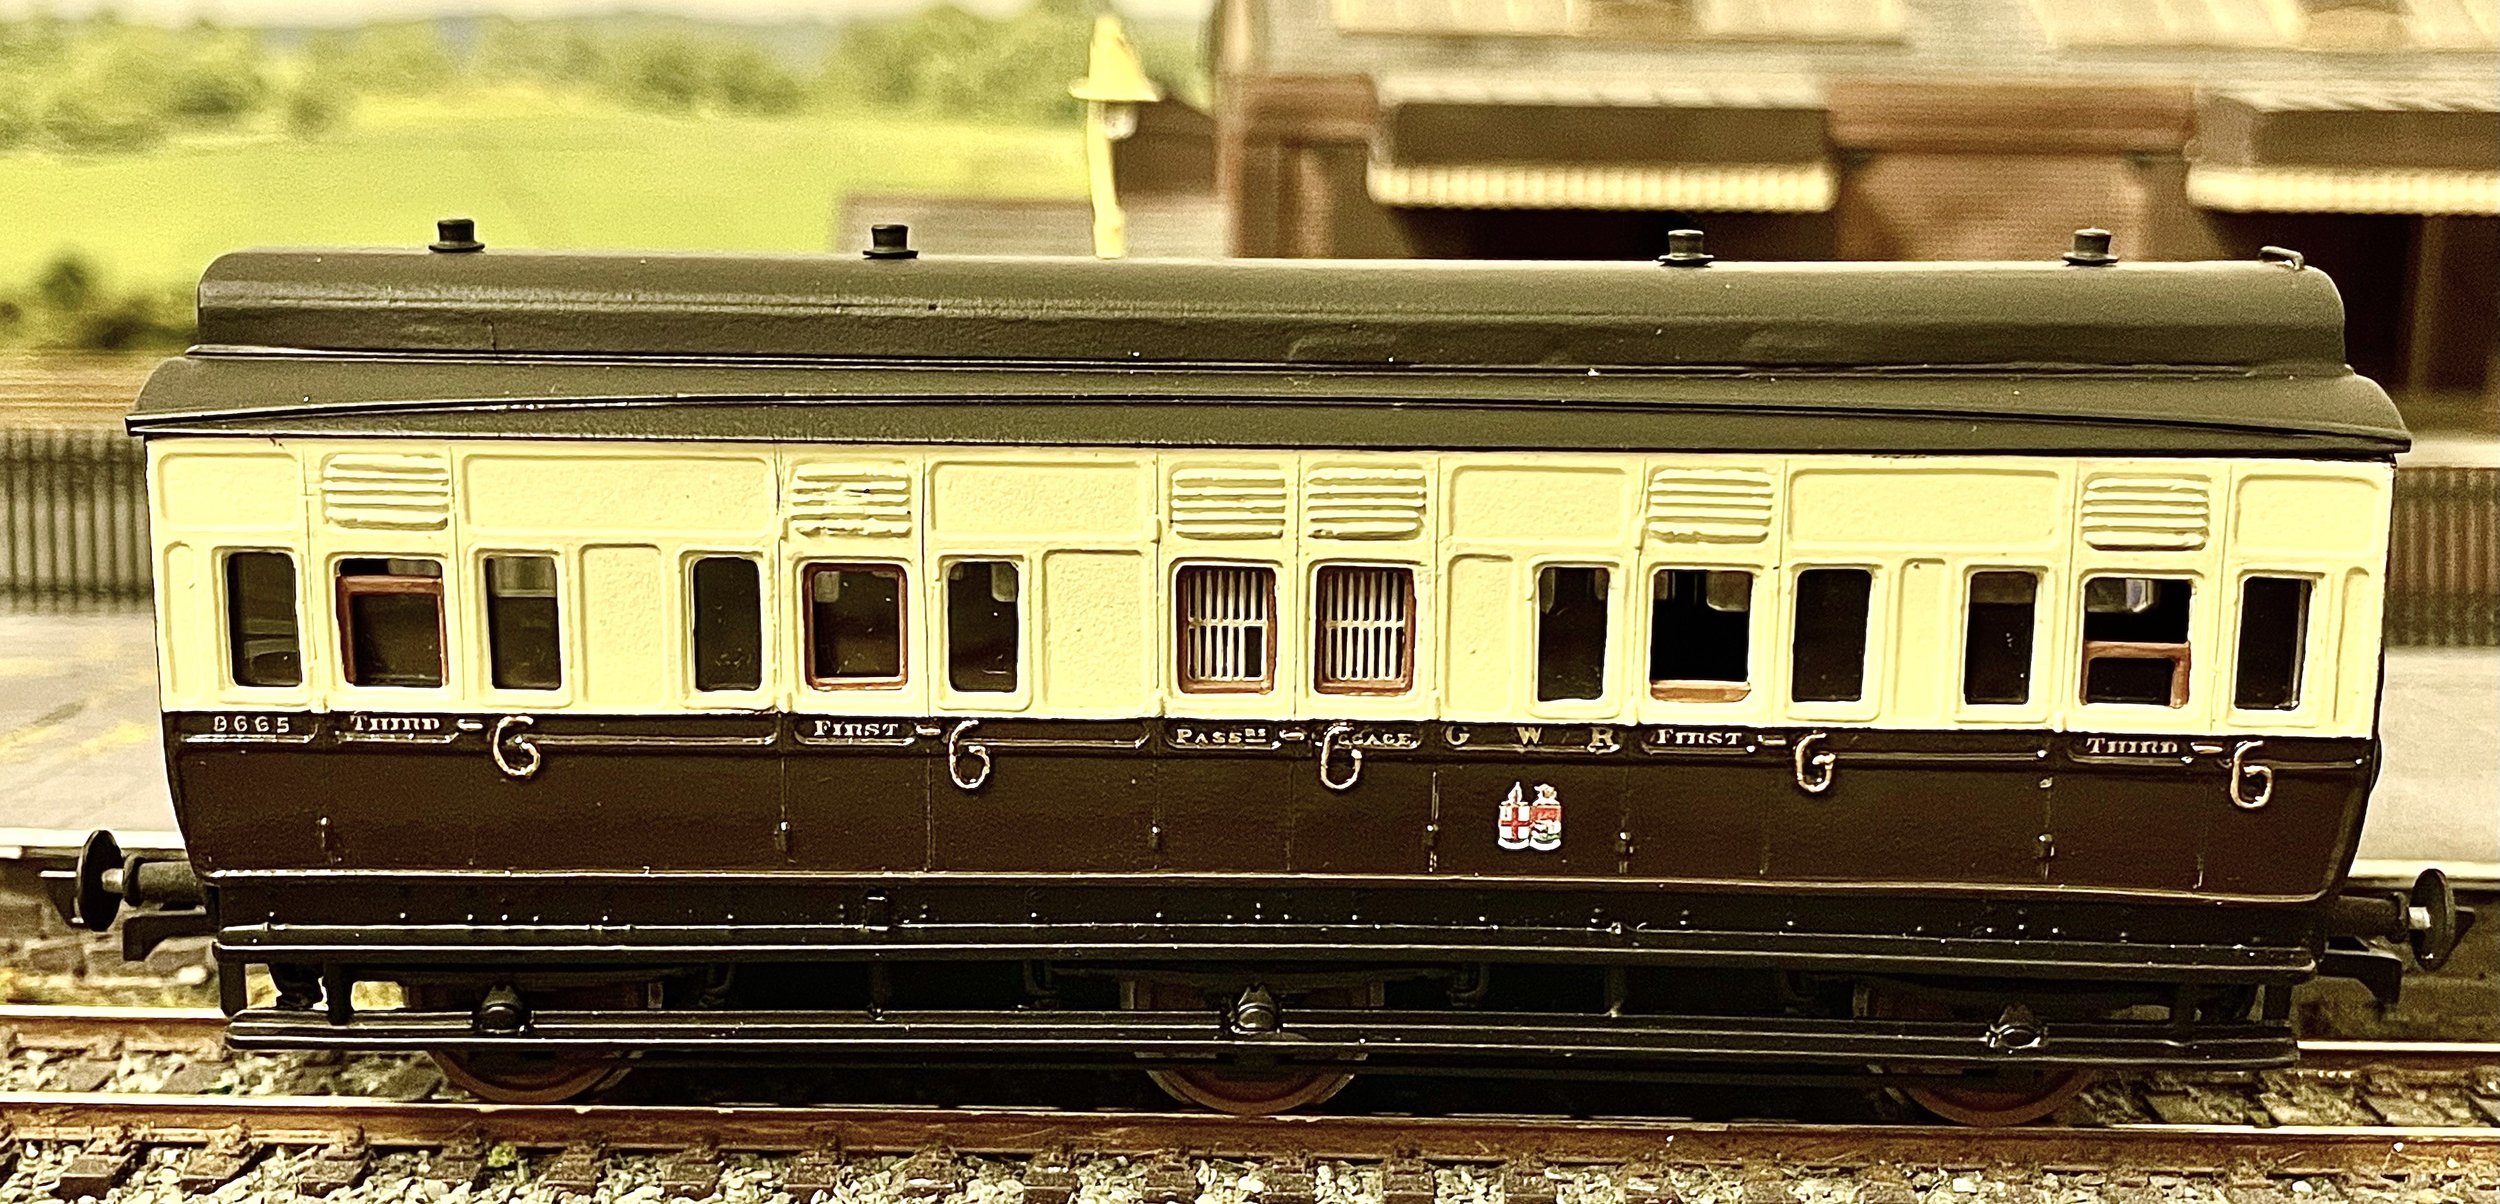
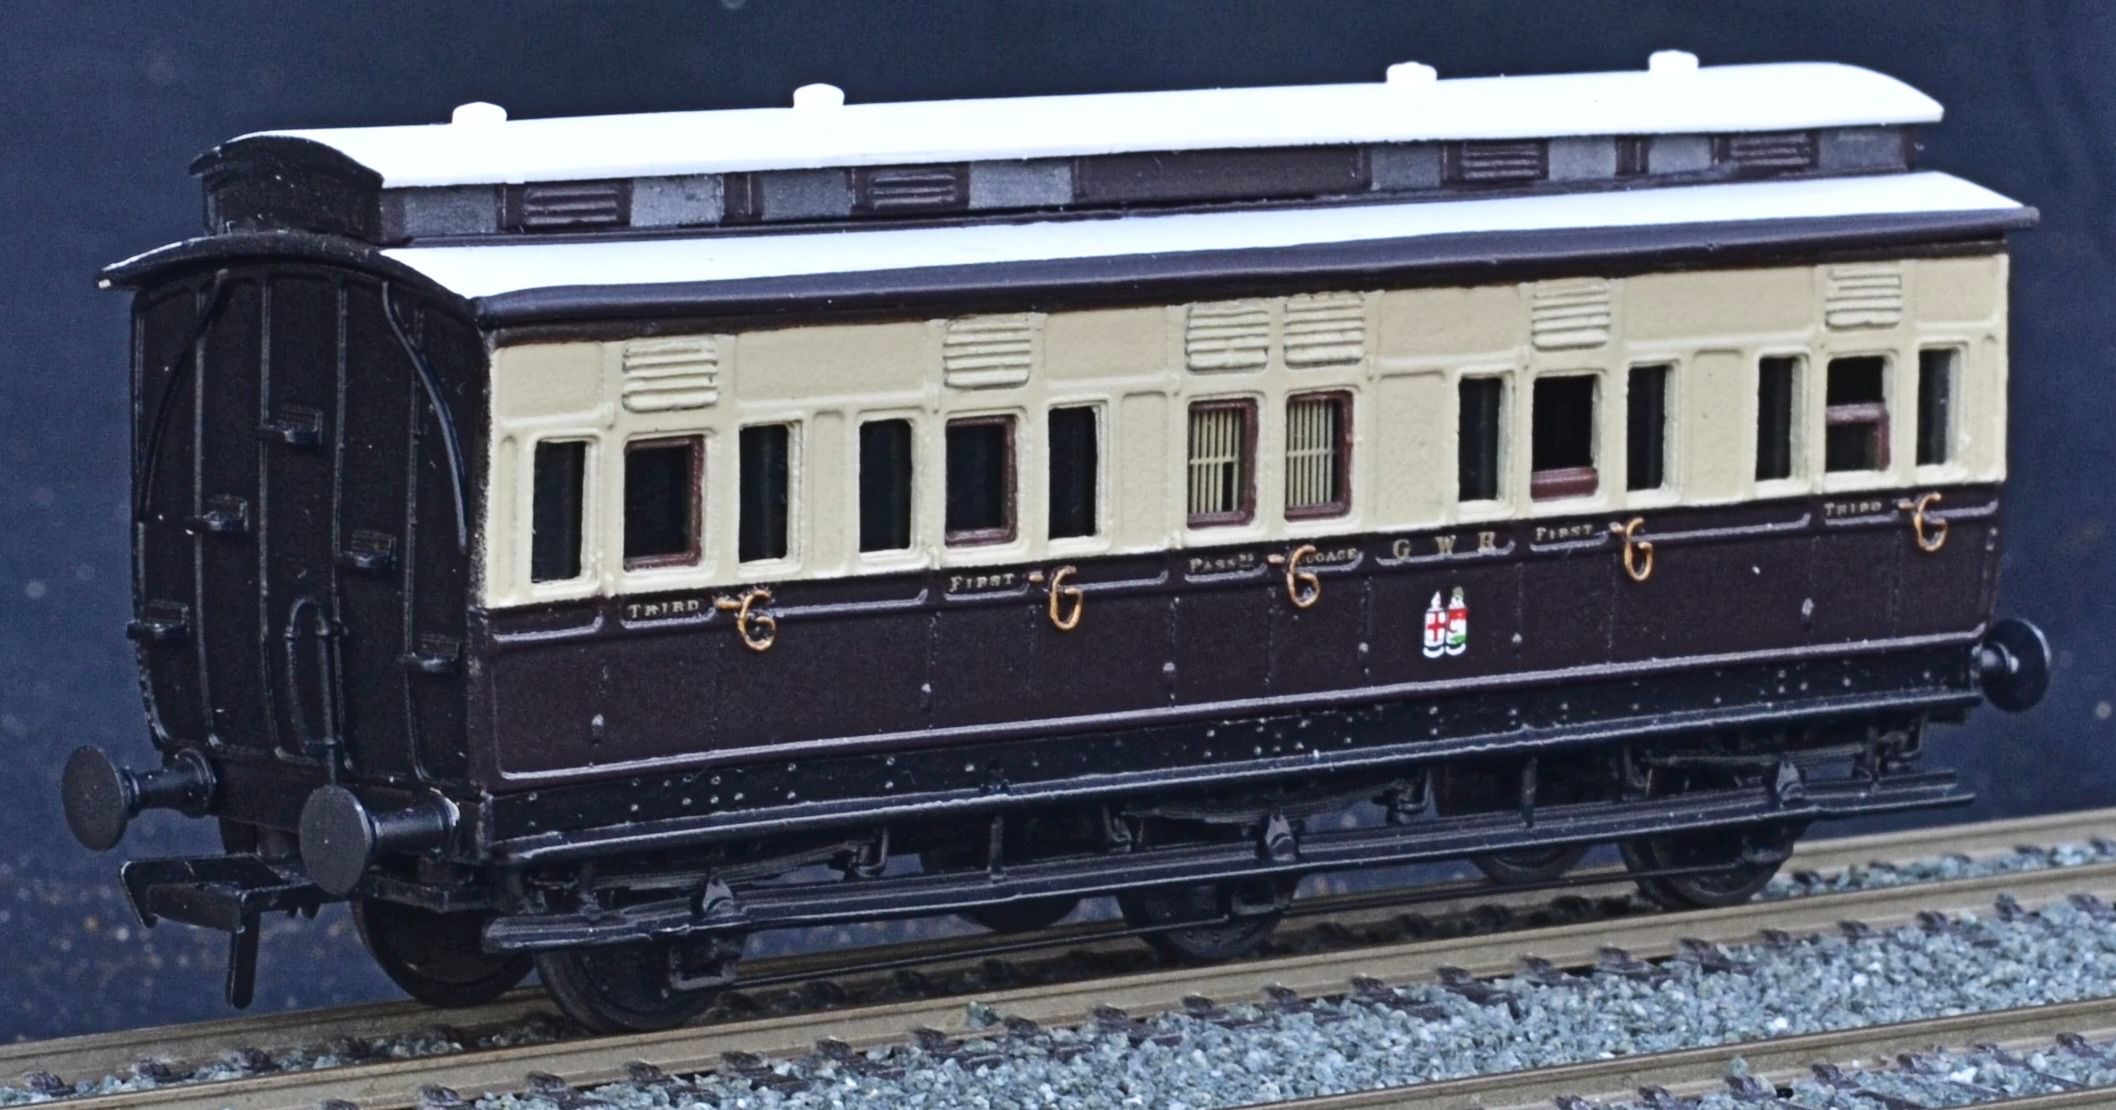
The livery details have now been completed and the coach lettered and given the appropriate GWR emblem for the late-20's. Buffers have also been fitted and couplings attached. A quick spray of satin varnish followed and the glazing was then inserted, to be followed by compartment partitions and the window guards for the central luggage section. All that was left to do was attach the roof [with two-part epoxy resin] and the coach was then finished.

And that is absolutely the last Keyser white-metal coach that I shall be building. Three are quite enough for anyone...!
Well, as it turned out, this wasn’t the last Keyser coach build I undertook. The coach above is pretty enough but very heavy and, in spite of its good running qualities, its weight makes it impractical in a lighter rake. So, a second coach was sourced after some years to explore ways to reduce the weight and make the model more usable.

This is the second coach in its original form. Soaked briefly in boiling water as it had been glue-assembled, the kit came apart very nicely with just a few very gentle taps with a toffee hammer. I intend adapting and using the ends and roof from a Triang Clerestory coach in place of the white-metal originals but kept the K’s roof and ends as they may be useful in the future. The sides were then soaked in Dettol for a day or two. The paint came away easily and the sides burnished up well. The quality of the mouldings was very good, too, with only some flaws being seen on two of the grab irons. This suggests that the kit was an early release, before the tooling became badly worn.

After cleaning and priming the sides I removed the ends from the Triang coach body and also cut up the roof to reassemble it at the correct length. The next photo shows the sides with their new ends attached. Achieving this was easier than I thought it would be and only a minimum of sanding and filing was required. Using the Triang ends meant that an Triang Clerestory roof could be used with no difficult to fill gaps arising. The moulded end handrails have been cut away to be replaced by wire ones and I may also fit more prominent steps, too. The little open rectangles at the top of each end will be filled in due course. Shortly after the photo was taken a floor was fitted.
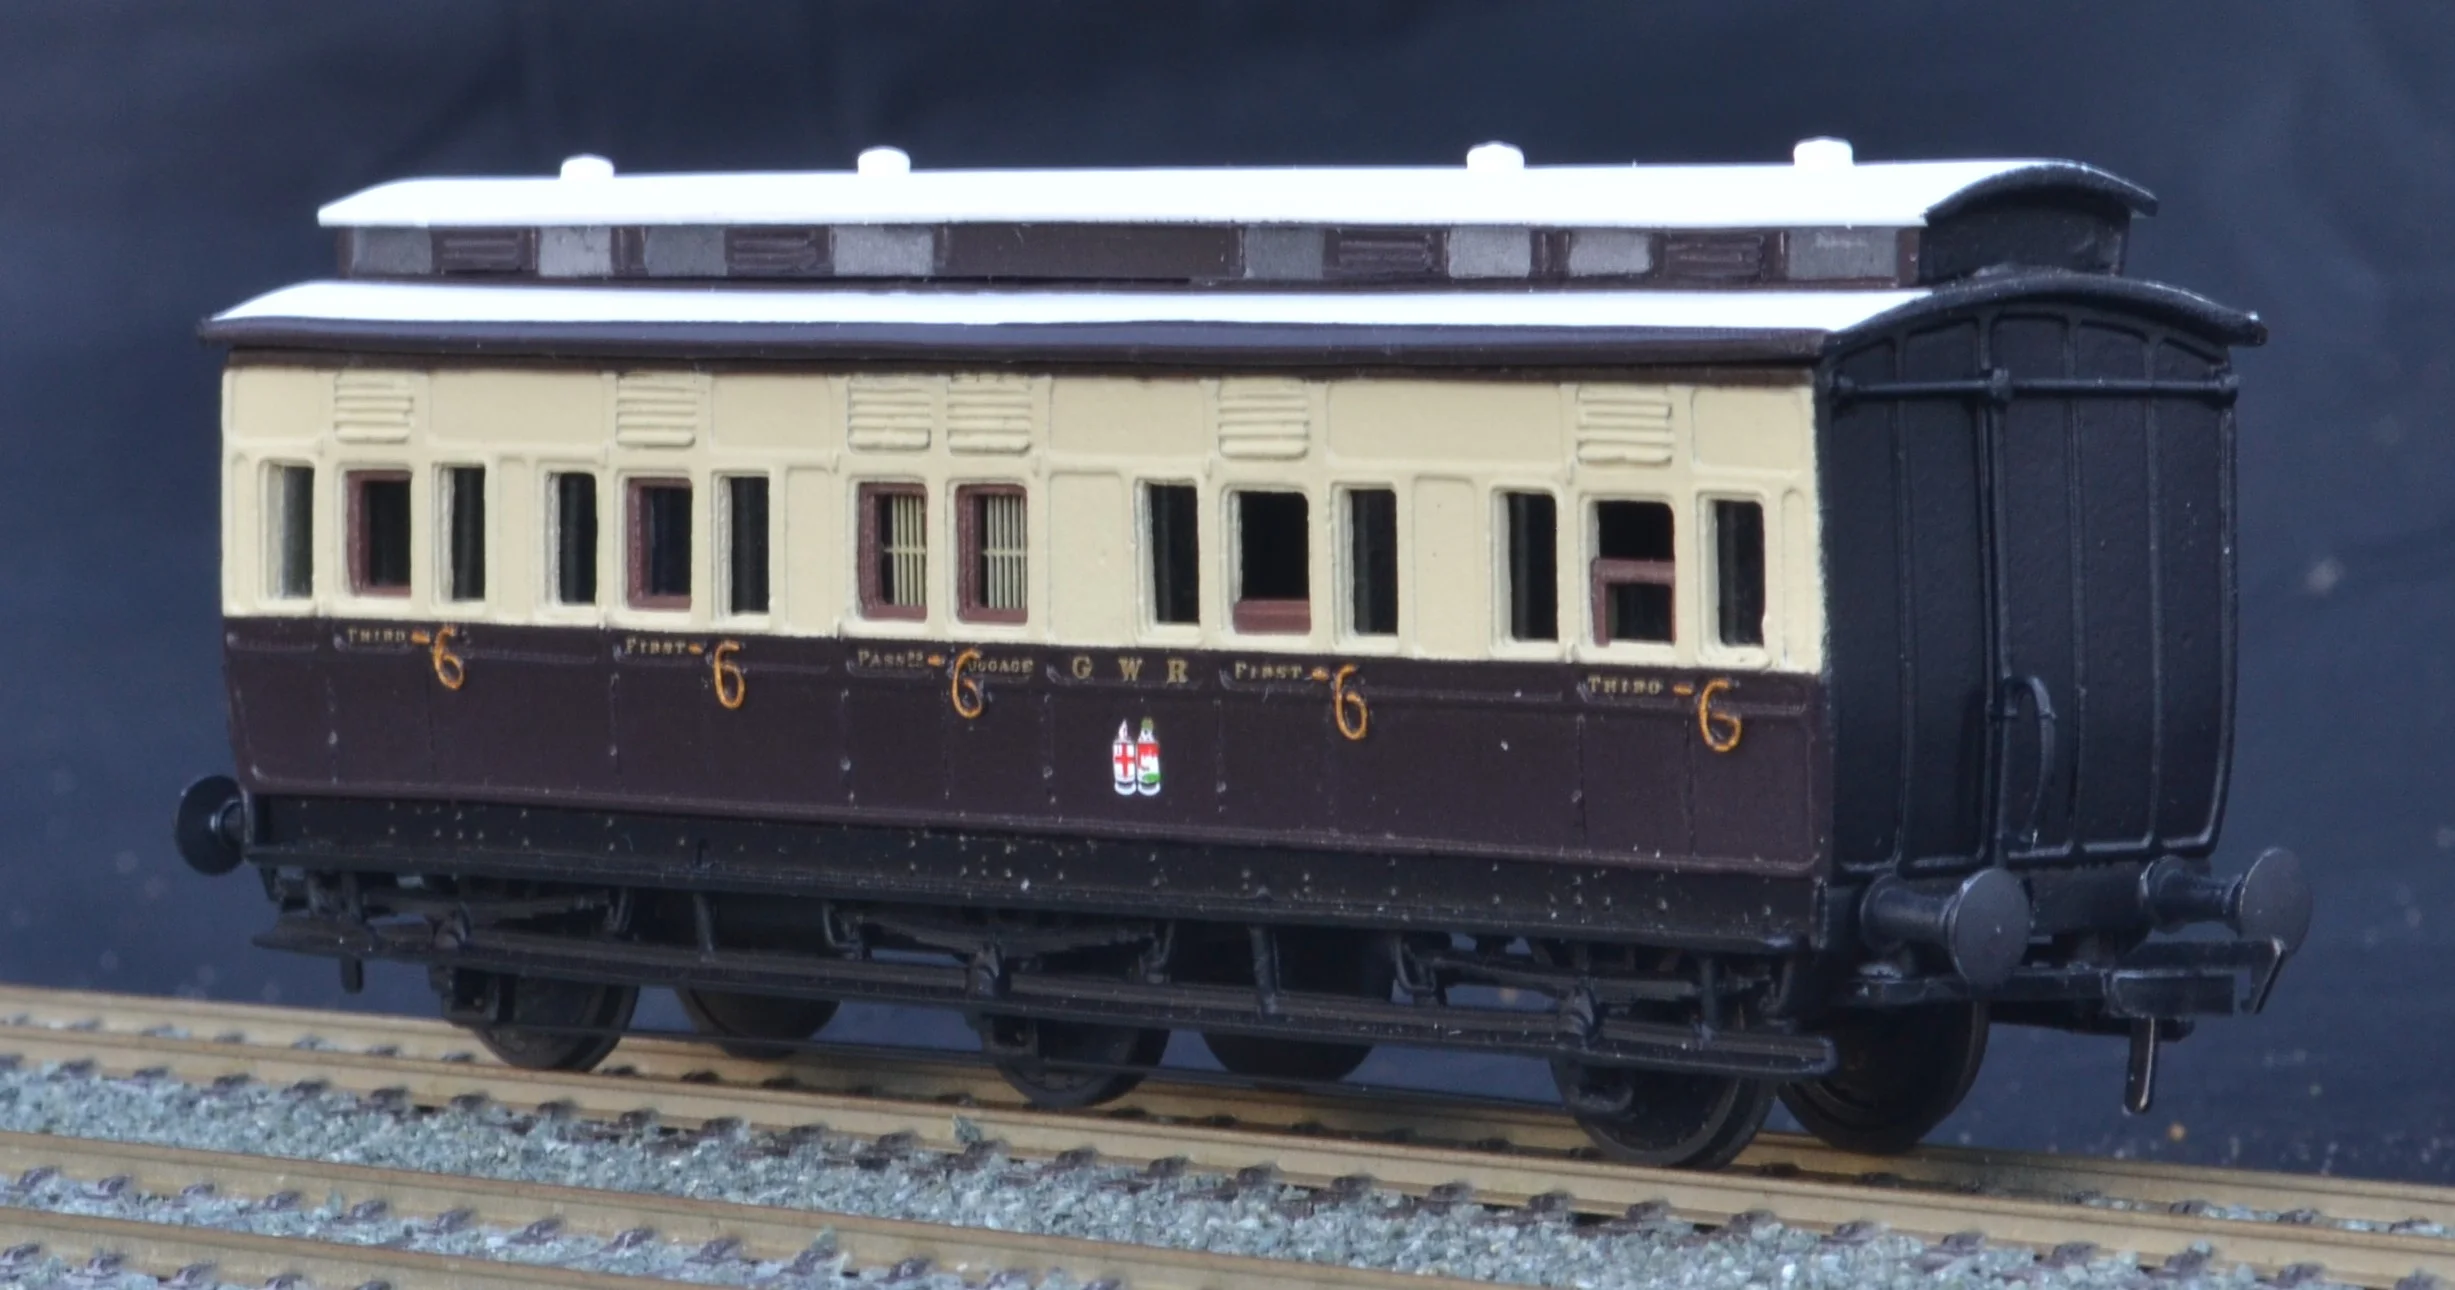
And finally, for this part of the build, the body with the roof dry-fitted. The fit is good and the join not too obvious. It's always tricky to achieve an invisible joint on a flattish horizontal surface and whilst it can be seen here, it should eventually become less obvious when painted matt black. The clerestory windows will be plated over in due course, as was the later practice in these coaches' lives [although some just had their windows painted over, too].

Prior to painting and fitting the external details I did a trial fit of the wheels. All had been fitted with correct pattern Mansell inserts and the outer sets ran in brass bearings. To ensure that an otherwise-inflexible 6-wheel chassis could negotiate quite tight radii, I fabricated a saddle into which the centre wheel-set could sit [having removed its pin-point ends] and have both lateral and radial movement.
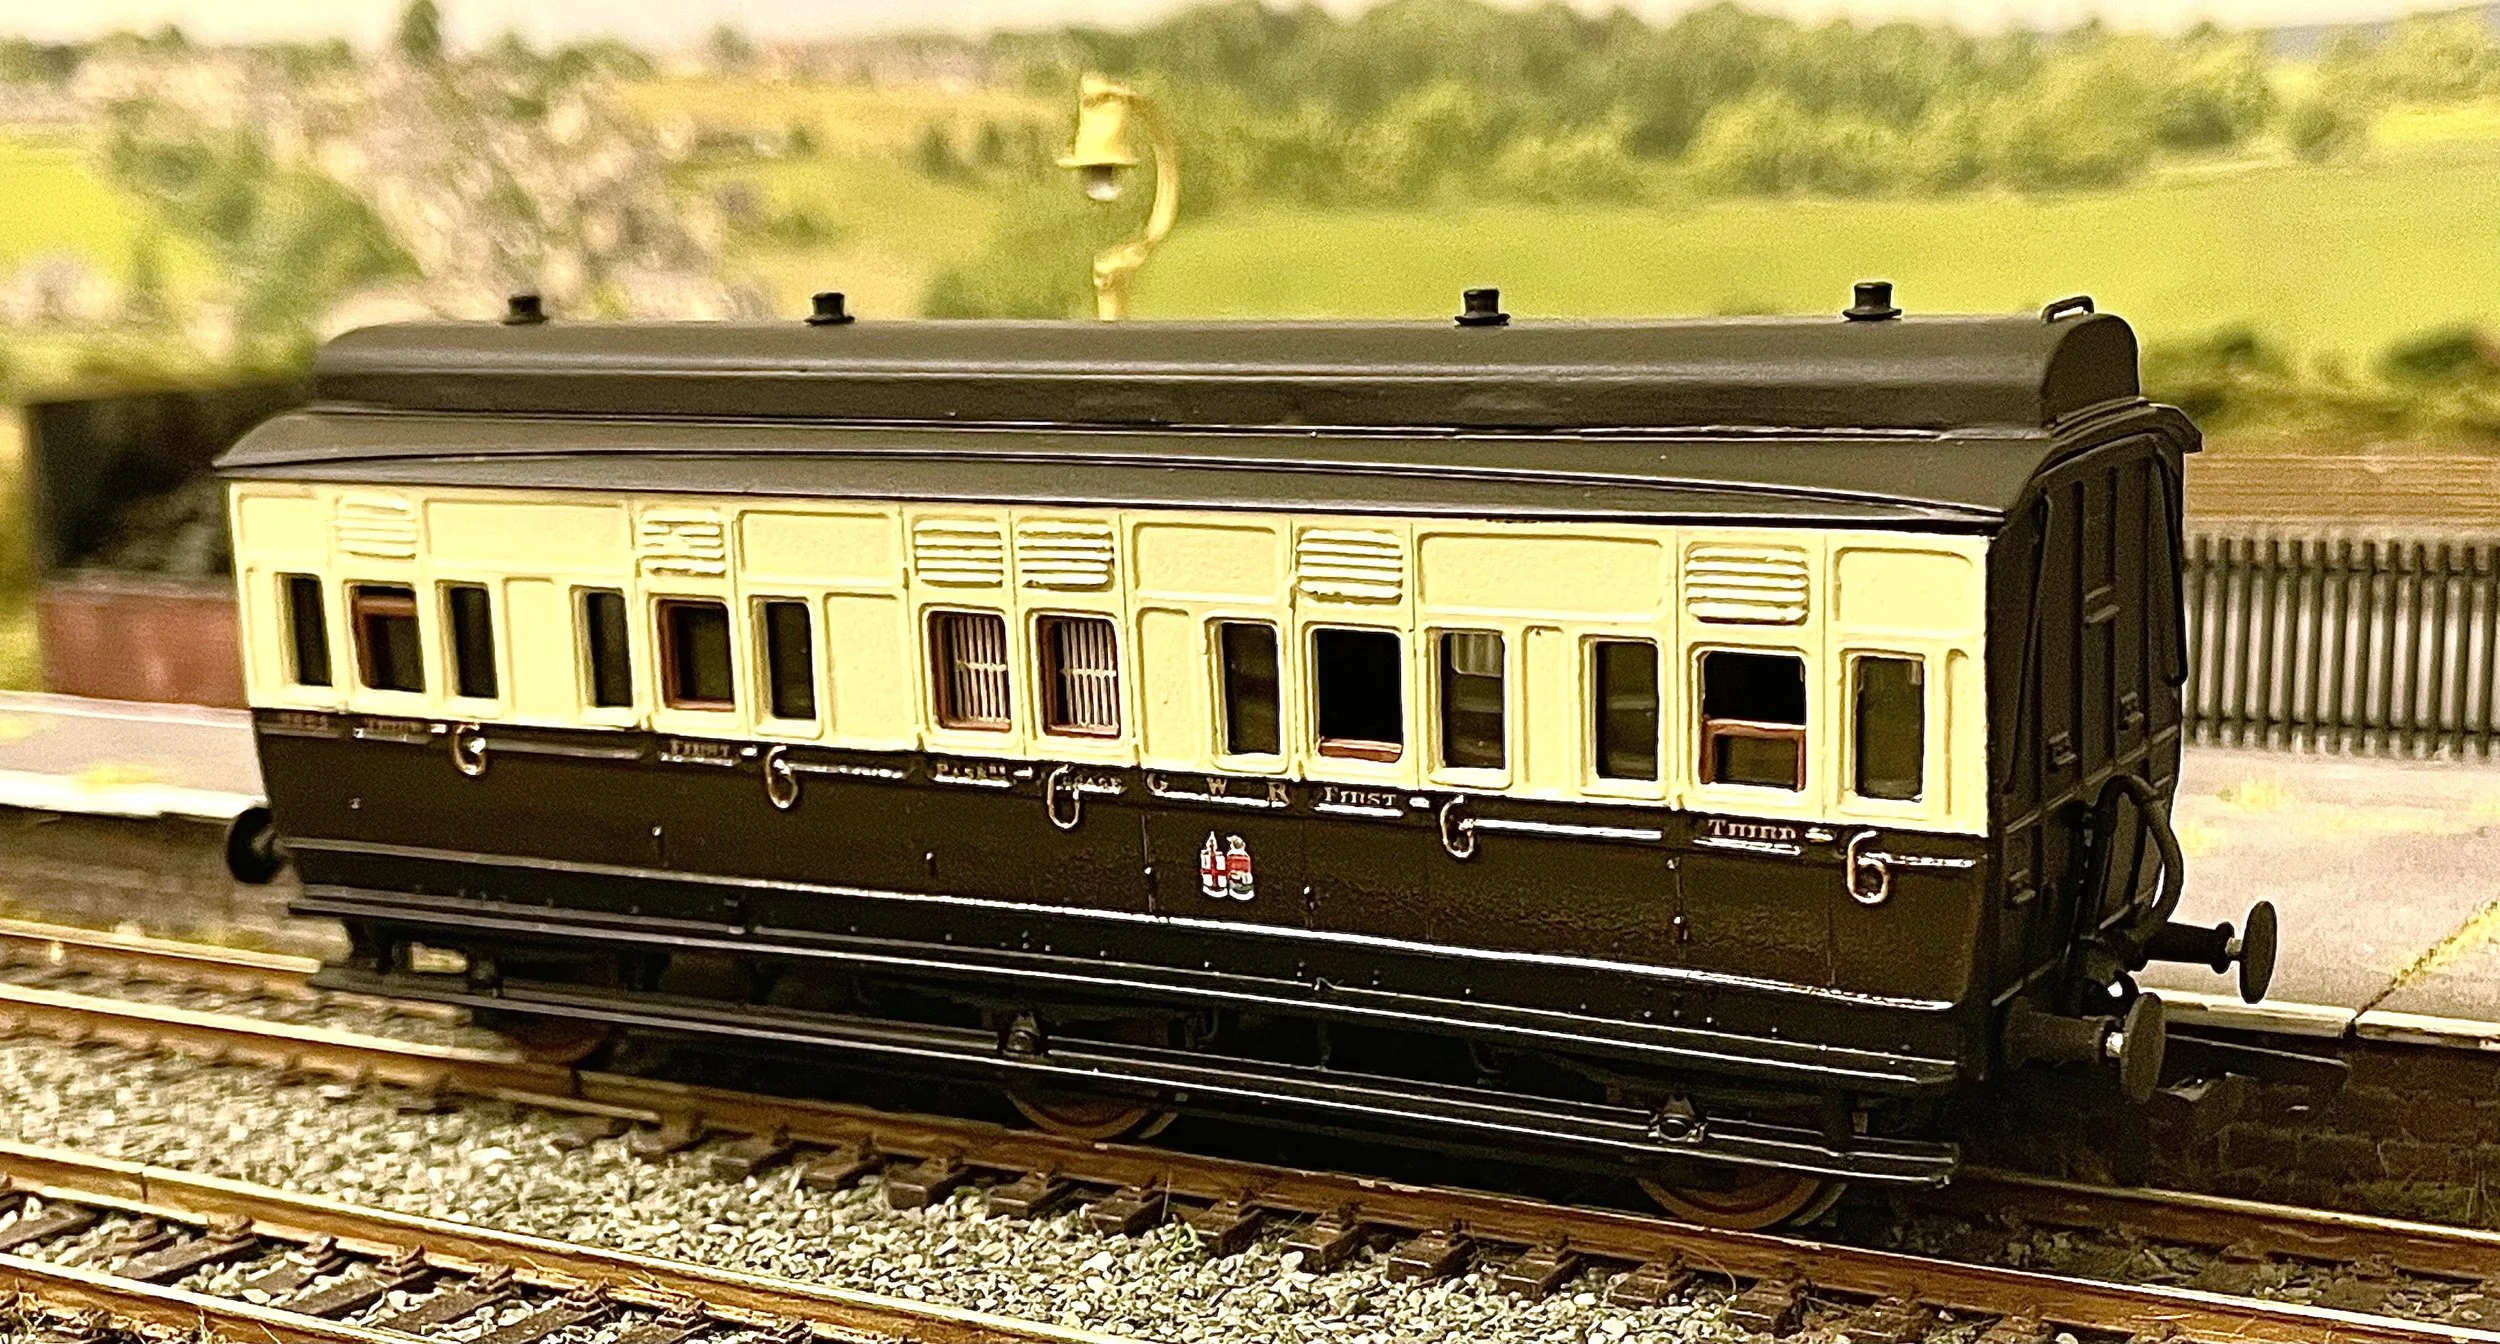
Satisfised that the coach would run smoothly, the wheels were removed and truss rods fitted across the axle-boxes. The coach body was then painted, lettered and varnished, the interior glazed, compartment partitions fabricated out of black card and the roof fitted after it, too, had been painted. Handrails, dummy and Bachmann couplings, vacuum pipes and buffers were then fitted and the wheels reinstalled. Because of the use of plastic ends and a roof, the finished model was significantly lighter than the first build at the head of this article and the project a success.