- GWR Clerestory All Third - yes, another Triang conversion -

GWR Dean 46' 6" Third No.1941, Diagram C10, Lot 962, built at Swindon 1901. At Didcot Shed, 05/10. by Hugh Llewelyn
Most modelers will know that the venerable Triang Clerestory Brake Third and Composite coaches are not based on any particular prototype, but a surprising number of 'real' coaches can be created from them. At least real enough to be recognisable, if not able to compete on an even footing with Slater's kits.
This bodge is probably the easiest of the lot, a forty six-and-a-half foot dia. C10 All Third Clerestory, No. 1954. It simply involves adding one compartment to the final body of the coach, resulting in an 8-compartmnet vehicle. I say ‘simply’ but, as usual, for the build to be successful, square cutting is necessary and it’s also worth attending to some of the detail. It is not intrinsically difficult however. I may need to revisit that last comment later, though…..
A common mistake made by us bodgers in creating one of these is to a] call it a C22 [which is identical but should be a scale 6" wider] and b] to knock it up from Triang Clerestory Composites [making it too long]. The correct route is to use two Brake Thirds, as their in-between-the-windows paneling is the correct size for a Third Class coach. You can see the difference in a later photo, below.
The GWR, which built a bewildering number of different diagrams during its existence, built 212 of these coaches between 1894 and 1902, most seeing service on branch lines and a number surviving into post-nationalisation days. One has survived in preservation.
So, the starting point, a mint Bk Third prepared for the knife by removing all of the separate parts:

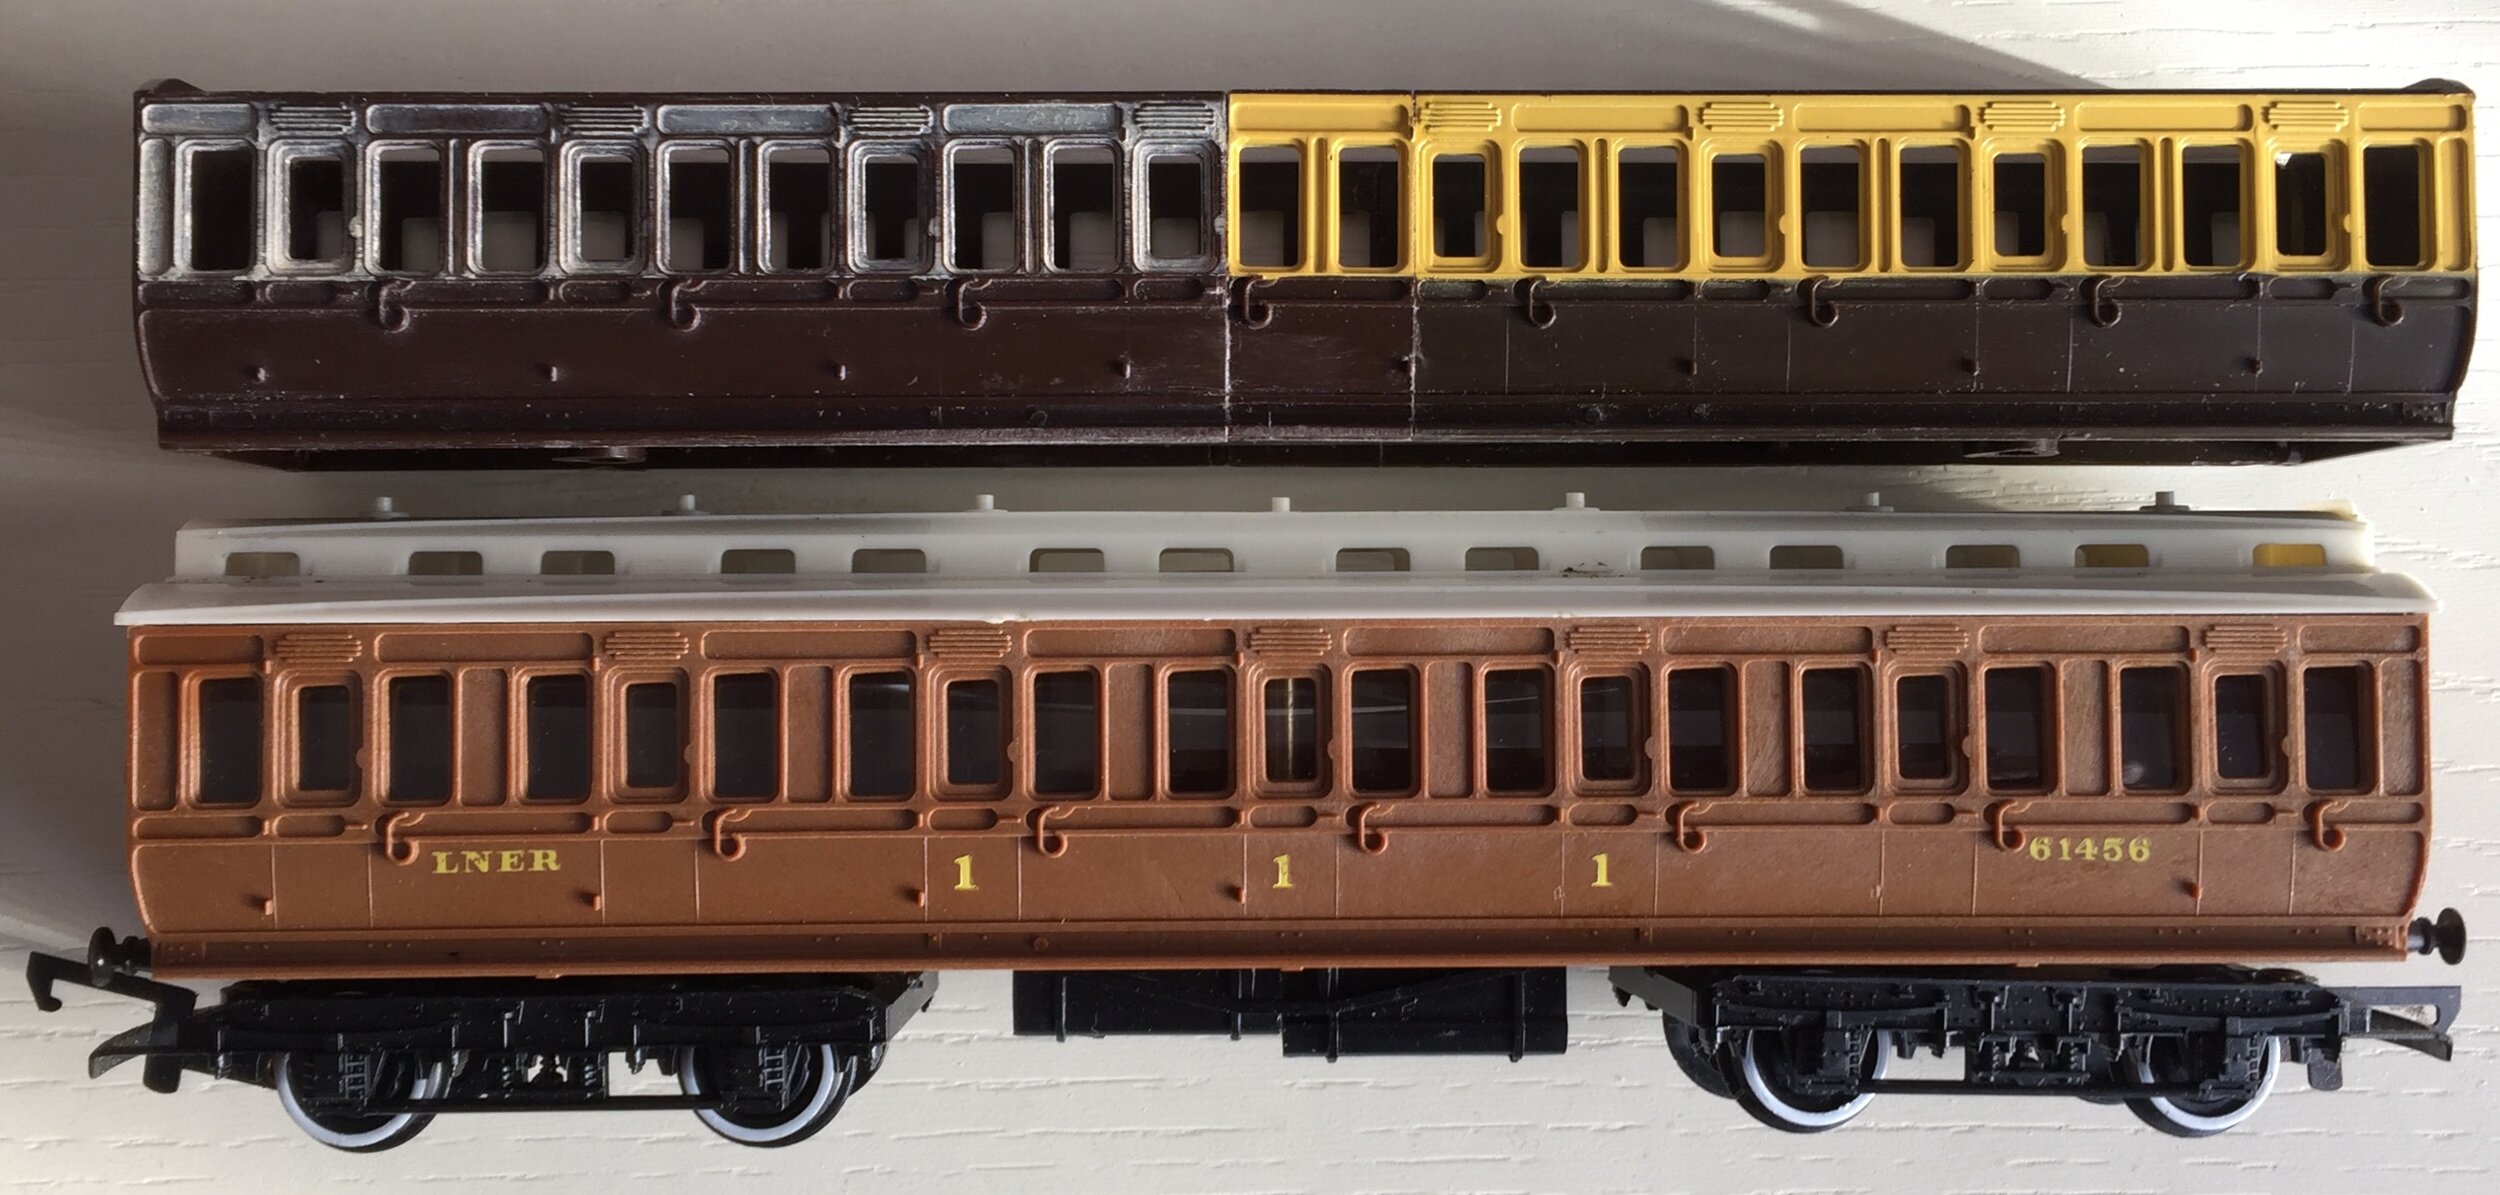
Instantly recognisable, and you’ll need two of them. The second coach required was one of two I bought recently via eBay for just £9. It arrived in an appalling state though, having been repainted by, seemingly, pouring paint over it and then rolling it on a carpet. No exaggeration there at all. A 30 minute soak in caustic soda cleaned it up for use however and here it is below, post-surgery and attached to its partner. To achieve this, one coach needs cutting in half after the eleventh window, the other after the thirteenth. The upper parts of the joints will need a little support while the glue cures as the areas to be bonded are extremely thin. You can also see the difference in panel size mentioned above and, in spite of an additional compartment being added [8 instead of 7], it's only marginally longer when compared with a Triang Clerestory Comp:
A couple of points on the above photo: the joins came out quite well, with only some very small areas requiring filler. The step boards almost always chip because the saw teeth catch on them. They are not too bad this time, though. Also, the coach body is, in fact, made up of three portions: the original cut was just too close to one of the windows, changing its profile from round edged to square edged. I could have gone with it but I had parts of another body in the bits box, so one of those was cut up for insertion to remedy the problem. You can see the joins in the centre: they look like door shut-lines. The body has been reinforced below and above the floor - to prevent stress along the joints - with plastic card strip.
The roof for this coach has to be longer than the original to cope with the slight increase in length and two brake roofs were cut to size and joined. The next photo shows the roof in place. It's quite a good fit and only a tiny bit of filler will be needed on the guttering, where the plastic is very thin and fragile. Things always look a bit grim at this stage and it isn't until the first coat of primer has been laid down that the real state of play can be assessed:

The first coat of primer showed a need for small amounts of filler as expected. Finally, so far anyway, after the second coat of primer had been applied:

If only that was all there was to it! Given the need to create the body from three parts, the very small irregularities present are not really worth worrying about. A slight central wobble in the raised beading above the solebar can be seen, but this could only be remedied by removing the lot and replacing it with plastic strip. I don't feel inclined to do that!
The beginning of the fiddley stuff now. First, because the brake-ends have been removed from the coach parts used, both ends of the coach now have the emergency brake tell-tale rodding. One set has had to be removed, a very sharp scalpel and chisel blade and a steady hand achieved that. The very slight imperfections will disappear under matt black paint. I have also filled the rectangular slots in the upper ends, originally there to secure lugs on the roof. You can just see one of those in the left hand photo. Holes have been drilled for the knobs for the end handrails [to access the roof] and a start has been made on folding those up. I'll need to fabricate some footsteps also for that end, and also give some thought as to gas tanks and truss rods. Finally, the clerestory windows have been plated over as they would have been out of use by the mid/late-30s. You’ll see that in a later photo….


I’ve had a stab at the footsteps for the hand-rail end to enable access to the roof. Having run out of thin brass sheet completely, and having no convenient etches to fall back on, I reprofiled some U-shaped plastic channel and it has more-or-less worked. The step themselves still need thinning a little [with an emery board, later] and look far better 3/4 on than head on. I think all will be well under matt black though, so they'll stay.
With the body left alone for a while, I have started thinking about how to fix the bogies. Finding prototypical bogies for older GWR coaching stock is not easy. All of the usual white-metal castings seem to be out of production currently and Shapeways appears to be the only show in town. Whilst their printed bogies are quite good, their pricing is quite steep in my view and I wouldn’t order from them for a cheap project like this. What I do, however, is look out for old kits with bogies or odd singles / pairs that appear on eBay from time to time. They tend to be heavily contested though and can sometimes be just too expensive to bother. Patience pays off though, and I have three or fours pairs from kits long out of production awaiting use.
With that tight-fisted moan out of the way, I am fitting a very old pair of Keyser Dean 8ft 6ins bogies to this coach. They are correct but need footboards adding and some general cleaning up. They are not particularly detailed and clearly had a rough early life. They'll be fine though. Here they are, below, after a flash of black to remedy the earlier owner's rather poor glossy paint job and to look for flaws. They are probably 40 or 50 years old and there's really something rather nice reusing them but, this time, with far more care.

They don't look particulalrly impressive but, with a little detail and weathering, they'll pass muster.
The photo below shows the method of fixing the bogies. The original Triang coaches have turrets into which their bogies are clipped. Unless one wishes to fit the later Hornby Dean-type bogie from the newer long Clerestories, they are useless for anything else. I removed them and fitted two plastic card bolsters across the underside to cover the holes left behind. I then screwed in place some white metal rubbing plates I found in the bits box. A bolt was then dropped through the floor for each and the bogies will be attached to those, the fixing nuts secured with threadlock. If the dry run works well, with no wobble and the body not too high, I'll remove the bogies to fit the footboards and, once the wheels are inserted, place bolsters across their ends to close them up. The method of attachment will also allow for the bogies to be replaced later should I acquire more better, detailed castings.

Well, some things really shouldn't be shown to anyone, let alone photographed, until they are either painted or finished. Anyway.....
The bogies were in quite poor condition structurally. They had been very heavily soldered and were also not square. I doubted that it would be possible to apply just sufficient heat to melt the solder without damaging them, was unable to dismantle them and had to work with what I had. Some straightening-out was possible and I'm fairly sure that they'll run freely enough when bearings are inserted. The first photo shows the end bolsters [fixed at one of their ends only to allow the wheels to be fitted - they'll be trimmed then and fixed], the footboards and a very thin strip of plastic card applied to the tops of both bogies to increase their height very slightly. The footboards were re-profiled U-channel. Although sanded back, they are still just a little proud of the body. It all looks awful in the raw, but the second photo shows a flash of black and things have improved somewhat.


The underframe has also had truss rods and gas tanks applied. Neither is 100% accurate but this is more about appearances really: you expect to see something there. The truss rods have been sliced off an original Triang moulding and the gas tanks are Ratio. Again, when painted, they'll pass without comment.

I'll paint the wheels tomorrow and insert them with their bearings. That bit of the build - except for couplings - will then be finished. It's then wait for a dry day to start painting the body before the interior is glazed and detailed.
Later…….
The bogie frames, having been painted, received their bearings and painted wheels and the bolsters were glued to the ends. It was time for a dry run and they were attached to the coach body to see how they performed. Two problems became immediately obvious: adding the step-boards made the units too wide for the coach and, more importantly, the whole unit ran like a three-legged pig. The bogies were removed and the step-boards taken off [many ran without them in any case, so this was not a problem]. The running problems were eventually traced to faults in the original owner’s bogie build: both of the units were very slightly out of true. Running alone, they were fine, but when bolted to the coach body their faults became obvious.
Before scrapping the K’s units I decided to attempt a repair. One unit allowed a very slight twist to bring it into square. The other didn’t, and one of the axle box arms snapped off. Luckily however, it was possible to reattach the broken piece with epoxy cement, the drying time allowing for it to be bent up into the correct position. The wheels were reinserted whilst the cement was still flexible and the whole set aside to dry. It now runs perfectly and, frankly, I’m surprised.
Below, with the step-boards removed and the bogies repaired and bolted back into place, and looking rather like a condemned coach awaiting the torch….


Couplings will be attached to the bogies in due course but, from those seen in photographs, I have added some small and near invisible steps to the ends of each bogie. These were formed from thin brass sheet and superglued in place. I also want to reduce the overall ride height by 1mm.
This rather cruel enlargement shows one in place. Weathering them slightly will highlight their presence in due course.
The body and roof have now be painted. The finish is very glossy but this will be dealt with by matt varnish later, once the fittings have been picked out in brass, the drop lights painted in mahogany and the lettering and arms have been applied. The underframe and ends will be painted matt black in due course, also.


The ride height has also been addressed and the body now sits 1mm lower than before, meaning that it no longer towers above other stock. It’s surprising just how noticeable such a small measurement is in this scale. It’s seen here alongside a Bk. Third that I modified some years ago. I wish that I still had that paint, too…..
Later, after the external livery has been completed. The body awaits the application of its running number [1954] before it is varnished. The interior detail can then be applied and the buffers, couplings and handrails attached.

Bad weather has delayed the completion of this project as it wasn’t possible to spray dull-cote varnish on the body to tone down the finish and protect the lettering. However, this has now been done and it was then possible to apply the flush-glazing and insert the passenger seats. The roof was then attached and handrails bent up and applied to the end with the steps. Vacuum pipes and dummy couplings completed the detailing. With the bogies bolted into place, this project is now complete, save for sticking on some Bachmann couplings in the near future and also giving the bogies a very light weathering.
Apologies for the quality of the final photos: my phone camera is not particularly good and the light was very bright, bleaching out some of the detail. I may retake them but you’ll get the idea, though!


Finally, alongside the Composite coach that Triang originally made but got the measurements and number of compartments wrong. The C10 is actually around .5cms longer than the r-t-r coach and makes the unaltered Triang offering look extremely primitive.

So, the problem with the bogies apart, a relatively straightforward build which produces a prototype coach very cheaply and which should be within the ability of most modellers. Just don’t rush the build and make sure that your saw is really - really - sharp!