- Let's Make it British -
by Daniel Thomas
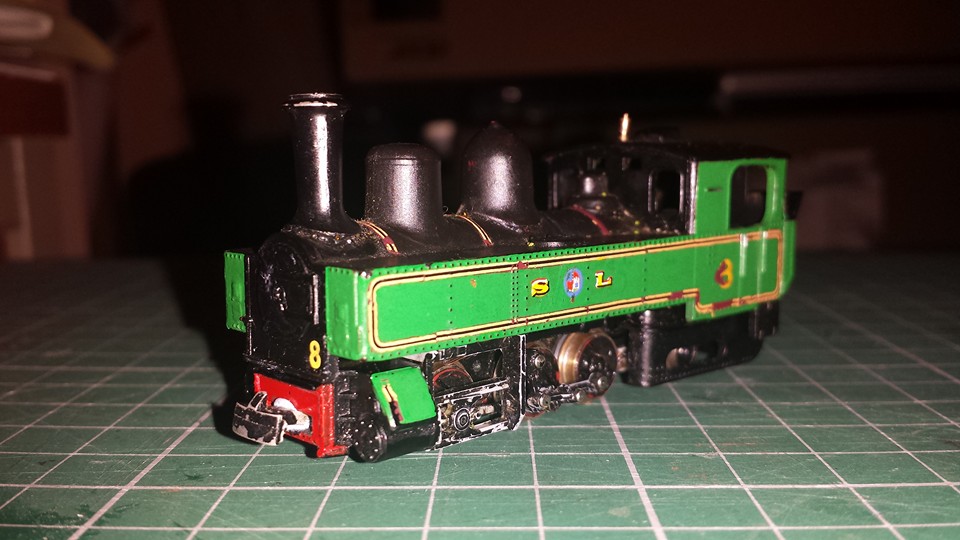
This liliput 0-6-2t locomotive has a story to tell. It was probably bought in the late 1960s or the 1970s and then was repainted with an LMS livery! It then had another life on Peter Mountfield's Sellaport and Lanthwaite layout (found in Railway Modeller feb 2014 as seen above). Once the layout was broken up and sold on, I unknowingly brought one of his locos at the 009 sales stand in the exhibition last saturday. As for the technical parts, it was in poor condition with copius amounts of oil and grease in the frames and the main pickups were bent causing the running to be stuttery. The body was also a little worse for wear as the paint was flaking off and the chimney and dome castings were poorly fitted. Being HOe hasn't helped either as the whole thing looks too small for 009. What could be done? Well, with advice from one of the club members, I took the thing apart to bend the pickups back into place and the chassis was cleaned up using isoprobyl alcohol (it was full of dirty blu tak!). It now runs really well given it's age and my dad has been experimenting by adding phospher bronze pickups to the pony truck to improve it's current collection. As for the body, the old paint will be stripped and it will be modified. It will have new details fitted and a new coat of paint with weathering. As such, this will be my main project instead of the pug and I will finally do justice to what is honestly the most interesting loco I have ever brought. A new chapter in 'Lili's' life has begun....
First, I managed to strip off most of the paint on the lilliput loco using Deluxe Materials Strip Magic. This is my first time in using it and I think it's a great product despite its price as it doesn't smell much and strips the paint off along with isopropyl alcohol pretty quickly depending on the surface of the model. Once it is all cleaned, it will be treated with some extra details added to make it more 'Anglicised'.
A concept drawing of the locomotive below that is an approximation of what the loco will look like when done.
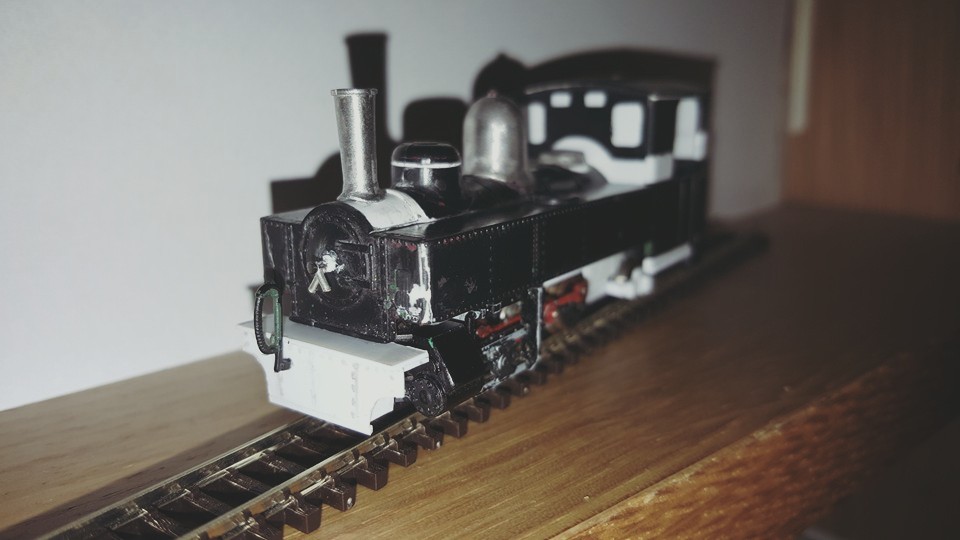
I decided to abandon the pick up idea as the wire was too thick meaning that the pony truck didn't have enough free movement. It also did not improve the performance of the model. I also simplified the running gear as the half completed valve gear didn't look right to me and so have removed it. The top of the smokebox was replaced with thin plasticard as when I removed the old chimney, there was a big gaping hole left that was hard to fix. The stovepipe chimney is a gem fitting which has been bored out to improve its appearence.
Now it's starting to look more British with the new bufferbeam and also the upcoming round windows of which will have spectacle plates added to them. The back also needs some sanding down to remove the lights. Another thing you might have noticed is that the back part has representations of the frames and also the addition of cosmetic outside bogie bearings. The coupling is mounted directly to the bogie and is Greenwich type coupling. Finally, a big bit of microstrip has been added to the sides to cover up the remenants of the valve gear and also to fill in the gaps left by the absence of the skirting.
Next I started to add some cab detail as it looked a bit bare and uninteresting. I started by building a backhead and then adding various details such as the gauges and pipework. At the time when these pictures were taken, the cab detail wasn't finished and I now give the cab a delicate clean before it is glued into the rest of the body for good. It may look a little crude up close but is a vast improvement over what there was originally.
On goes the first coat of primer. While I usually do this when I have just completed the build of the model, I'm doing it at an earlier stage so that I can see imperfects more easily. Once the body has been built up completely, I will spray another coat of primer to finish it off.
More to follow soon...


